Key Takeaways
- Wildlife photography is about capturing animals naturally and ethically.
- A telephoto lens is usually more important than owning the most expensive camera.
- Fast shutter speeds help freeze animal movement.
- Continuous autofocus improves success with moving subjects.
- Early morning and late afternoon provide the best natural light.
- Learning animal behaviour increases your chances of capturing unique moments.
- Respect wildlife by keeping a safe distance and avoiding unnecessary disturbance.
- Practice regularly, review your photos, and refine your techniques over time.
Quick Answer
Wildlife photography is the art of photographing wild animals in their natural environment. Beginners should focus on learning animal behaviour, using a fast shutter speed, choosing a telephoto lens, and practising patience. Even an entry-level camera paired with the right techniques can produce impressive results.
Wildlife photography is more than taking pictures of animals. It is about capturing real moments in nature without disturbing the wildlife around you. Every photo tells a story, whether it is a bird taking flight, a fox hunting at sunrise, or a deer standing quietly in the forest.
Getting started can feel overwhelming because there are many cameras, lenses, and settings to choose from. The good news is that you do not need the most expensive equipment to take great wildlife photos. Learning the right techniques and understanding animal behaviour often matter more than owning professional gear.
This guide explains everything in simple language. You will learn how to choose a wildlife camera, select the right wildlife lens, use the best camera settings, and apply practical wildlife photography techniques that help you improve with every outing.
What Is Wildlife Photography?
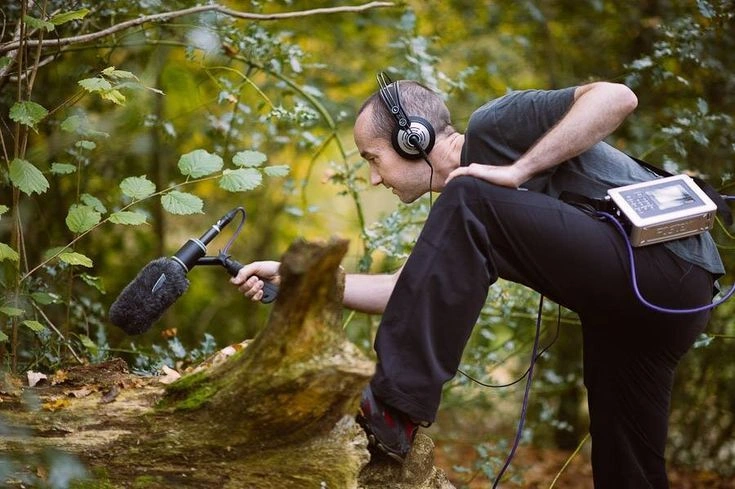
Wildlife photography focuses on capturing animals as they naturally live and behave. Unlike studio photography, every scene is unpredictable because animals move freely and lighting changes throughout the day.
This type of nature photography includes mammals, birds, reptiles, insects, and marine life. Some photographers travel to national parks, while others find amazing subjects in local forests, gardens, or wetlands.
Besides creating beautiful images, wildlife photography helps people appreciate nature and encourages conservation. A powerful photograph can inspire others to care about protecting wildlife and their habitats.
Why Wildlife Photography Is So Popular
Many people enjoy wildlife photography because every outing feels different. You never know when an unforgettable moment might appear, which makes every trip exciting.
It also allows photographers to spend more time outdoors. Watching animals in their natural surroundings can be relaxing, while improving observation skills and patience.
Another reason for its popularity is that anyone can start. Modern cameras and smartphones have made photography more accessible, although dedicated cameras still provide better results for distant wildlife.
Essential Wildlife Photography Gear
Good equipment makes photography easier, but it does not replace good technique. Start with reliable gear that fits your budget and upgrade only as your skills grow.
Camera
Choose a camera with:
- Fast autofocus
- Good burst shooting speed
- Strong image quality
- Reliable tracking for moving subjects
- Comfortable handling
Mirrorless cameras have become increasingly popular because they offer fast autofocus and advanced subject tracking. However, many DSLR cameras still perform exceptionally well for wildlife photography.
Wildlife Lens
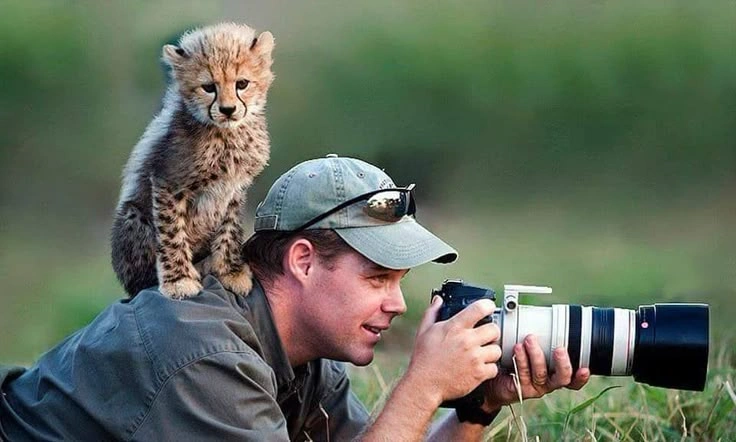
Your lens often has a bigger impact than the camera body. Wildlife usually stays far away, so a telephoto lens helps fill the frame without disturbing the animal.
Popular focal lengths include:
- 200mm
- 300mm
- 400mm
- 500mm
- 600mm
Zoom lenses offer flexibility, while prime lenses often provide sharper images and wider maximum apertures.
Other Useful Accessories
You do not need every accessory immediately. Still, a few items can make photography sessions much easier.
Useful accessories include:
- Extra batteries
- Spare memory cards
- Lens cleaning cloth
- Camera backpack
- Rain cover
- Tripod
- Monopod
- Lens hood
These accessories help protect your equipment and keep you prepared during long outdoor sessions.
Best Camera for Wildlife Photography
There is no single best camera for wildlife photography because the right choice depends on your budget, experience, and shooting style.
Entry-Level Cameras
These cameras are suitable for beginners who want to learn photography without spending too much.
They usually provide:
- Good autofocus
- Decent image quality
- Lightweight designs
- Affordable prices
Mid-Range Cameras
As your skills improve, a mid-range wildlife camera offers faster performance and improved autofocus tracking.
Many photographers choose these cameras because they balance performance and value.
Professional Cameras
Professional wildlife photographers often need cameras with:
- High frame rates
- Advanced autofocus
- Better low-light performance
- Weather sealing
- Longer battery life
These features become especially useful when photographing birds in flight or fast-moving animals.
DSLR vs Mirrorless Cameras
| Feature | DSLR | Mirrorless |
|---|---|---|
| Size | Larger | Smaller and lighter |
| Autofocus | Reliable | Usually faster for tracking |
| Battery Life | Longer | Generally shorter |
| Electronic Viewfinder | No | Yes |
| Silent Shooting | Limited | Common on many models |
| Best For | Traditional photographers | Fast-moving wildlife |
Neither option is automatically better. Instead, choose the one that feels comfortable and matches your photography goals.
Choosing the Right Wildlife Lens
A quality wildlife lens helps you capture distant animals without getting too close. This protects both the photographer and the wildlife.
Zoom Lens
Zoom lenses offer flexibility because you can quickly change focal lengths when animals move closer or farther away.
They are especially useful during safaris and nature walks where distances constantly change.
Prime Lens
Prime lenses usually provide outstanding image quality and excellent sharpness.
Although they cannot zoom, many experienced wildlife photographers prefer them for birds and distant mammals.
Prime vs Zoom
| Feature | Prime Lens | Zoom Lens |
|---|---|---|
| Flexibility | Low | High |
| Sharpness | Excellent | Very Good |
| Weight | Often heavier | Varies |
| Cost | Usually higher | Wider price range |
| Best For | Birds and distant wildlife | General wildlife photography |
A zoom lens is often the better starting point because it adapts to different situations more easily.
Camera Settings for Wildlife Photography
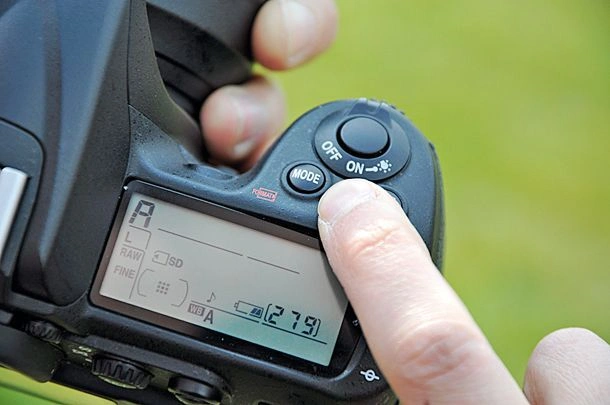
Learning camera settings is one of the fastest ways to improve your results. Even a great camera cannot produce sharp images if the settings are incorrect.
Shutter Speed
Fast shutter speeds freeze movement.
As a general guide:
| Wildlife Subject | Suggested Shutter Speed |
|---|---|
| Resting animals | 1/250 sec or faster |
| Walking animals | 1/500 sec or faster |
| Running animals | 1/1000 sec or faster |
| Birds in flight | 1/2000 sec or faster |
Higher shutter speeds reduce motion blur, especially when animals move unpredictably.
Aperture
A wider aperture lets in more light and helps separate the animal from the background.
Common choices include:
- f/4
- f/5.6
- f/6.3
However, the best setting depends on your lens and the distance to your subject.
ISO
Increase ISO only when necessary.
A lower ISO usually produces cleaner images, while a higher ISO helps maintain fast shutter speeds in darker conditions.
Most modern cameras handle moderate ISO settings well, especially in early morning or evening light.
Bird Photography Tips
Bird photography is one of the most rewarding parts of wildlife photography. However, birds are often small, fast, and unpredictable. With the right approach, you can improve your chances of capturing sharp and natural-looking images.
Learn Bird Behaviour
Before raising your camera, spend a few minutes watching the bird. Notice where it lands, feeds, or takes off. Understanding its routine helps you prepare for the perfect moment instead of reacting too late.
Focus on the Eyes
The eyes are usually the first thing people notice in a wildlife photo. Even if the wings show slight motion blur, sharp eyes can make the image feel alive and engaging.
Be Patient
Birds rarely follow your plans. Instead of constantly moving around, stay still and let them become comfortable with your presence. Many great wildlife photographs come from waiting rather than chasing.
Use Continuous Autofocus
Continuous autofocus helps your camera keep moving birds in focus. It is especially useful for birds flying across the sky or landing on branches.
Bird Photography Settings
| Setting | Recommended Starting Point |
|---|---|
| Focus Mode | Continuous AF (AF-C/AI Servo) |
| Drive Mode | Continuous Burst |
| Shutter Speed | 1/2000 sec or faster |
| Aperture | f/5.6 to f/8 |
| ISO | Auto ISO or adjust as needed |
These settings are a starting point. Always adjust them according to the available light and the bird’s movement.
Wildlife Photography Techniques
Good equipment helps, but technique is what separates average photos from memorable ones. As you practise, these simple habits will become second nature.
Get Down to Eye Level
Whenever it is safe, photograph animals from their eye level. This angle creates a stronger connection between the viewer and the subject.
Photos taken from above often look less natural and can make the animal appear smaller than it is.
Keep a Respectful Distance
Never approach wildlife simply to fill the frame. Instead, use a longer lens to photograph animals from a safe distance.
This keeps both you and the animal safe while reducing stress on wildlife.
Use Natural Light
Early morning and late afternoon usually provide soft, warm light. As a result, colours appear richer and shadows become less harsh.
Midday sunlight can create strong contrasts and unwanted shadows, especially on bright feathers or fur.
Watch the Background
A clean background helps the subject stand out. Before pressing the shutter, check for distracting branches, bright objects, or people behind the animal.
Taking one small step to the side can sometimes improve the entire composition.
Shoot in Burst Mode
Animals can change position within a fraction of a second. Burst mode captures several images quickly, giving you a better chance of getting the perfect expression or action.
Leave Space for Movement
If an animal is walking or flying, leave extra space in front of it. This makes the image feel more balanced and natural.
Understanding Light in Nature Photography
Light can completely change the mood of a wildlife photograph. Even the same subject can look very different depending on the time of day.
Golden Hour
Shortly after sunrise and before sunset, sunlight becomes softer and warmer. This light often produces pleasing colours and gentle shadows.
Overcast Days
Cloudy weather acts like a natural diffuser. As a result, lighting becomes even, making it easier to photograph animals with bright or dark fur.
Backlighting
Shooting towards the light can create dramatic outlines around feathers or fur. Although it takes practice, backlighting can produce striking wildlife images.
Morning vs Evening Light
| Feature | Morning | Evening |
|---|---|---|
| Animal Activity | Often higher | Often high before sunset |
| Light Quality | Soft and fresh | Warm and golden |
| Temperature | Cooler | Usually warmer |
| Best For | Birds and mammals | Portrait-style wildlife shots |
Simple Composition Tips
Composition guides the viewer’s attention. Even basic techniques can make your wildlife photographs look more professional.
Use the Rule of Thirds
Place the animal slightly off-centre instead of directly in the middle of the frame. This creates a more balanced and interesting composition.
Fill the Frame Carefully
Get close enough so the animal becomes the main subject. At the same time, avoid cropping important features such as the tail, ears, or wings unless it is intentional.
Include the Environment
Sometimes showing part of the landscape tells a stronger story than a close-up portrait. For example, a fox standing in a snowy field creates more context than a tightly cropped headshot.
Look for Natural Frames
Branches, leaves, or tall grass can frame your subject naturally. When used carefully, they add depth without distracting from the animal.
Common Beginner Mistakes
Every wildlife photographer makes mistakes while learning. Fortunately, recognising them early helps you improve much faster.
| Mistake | Better Approach |
|---|---|
| Using a slow shutter speed | Increase shutter speed for moving animals |
| Getting too close | Use a telephoto lens and keep your distance |
| Ignoring the background | Look for clean, simple backgrounds |
| Shooting only at eye level while standing | Kneel or crouch when possible |
| Forgetting spare batteries | Carry fully charged extras |
| Relying only on Auto mode | Learn basic manual settings gradually |
| Disturbing wildlife | Observe quietly and respect animal behaviour |
Wildlife Photography Checklist
Before leaving home, check that you have everything you need.
- Camera body
- Wildlife lens
- Fully charged batteries
- Extra memory cards
- Lens cleaning cloth
- Camera bag
- Rain protection
- Tripod or monopod if needed
- Weather-appropriate clothing
- Drinking water
- Small first aid kit
- Local wildlife regulations or park guidelines
A quick checklist reduces the chance of forgetting important equipment.
Frequently Asked Questions
What is the best camera for wildlife photography?
The best camera is one with reliable autofocus, fast continuous shooting, and good image quality that fits your budget. Many beginner mirrorless and DSLR cameras are capable of producing excellent wildlife photographs.
Which lens is best for wildlife photography?
A telephoto lens between 300mm and 600mm is popular because it allows you to photograph distant animals without disturbing them. A zoom lens is often the most practical choice for beginners.
What shutter speed should I use?
For moving wildlife, start around 1/1000 second. Birds in flight often require 1/2000 second or faster to freeze motion.
Is wildlife photography expensive?
It does not have to be. You can begin with an entry-level camera and a budget-friendly telephoto lens, then upgrade as your experience grows.
Is manual mode necessary?
Not always. Aperture Priority and Shutter Priority modes work well in many situations. As you gain confidence, learning Manual mode gives you greater creative control.
Can I photograph wildlife with a smartphone?
Yes, especially larger animals that are close by. However, dedicated cameras with telephoto lenses generally provide better reach, autofocus performance, and image quality.
Conclusion
Wildlife photography is a skill that grows with practice, patience, and curiosity. While choosing the right camera and lens is important, understanding animal behaviour and learning your camera settings often make a much bigger difference.
Start with simple equipment, spend time observing nature, and photograph responsibly. Every outing teaches something new, and even experienced photographers continue learning. With consistent practice and respect for wildlife, you will capture images that tell meaningful stories and create lasting memories.
